Creating a DIY outdoor bench can transform any backyard into a cozy retreat. With just a few materials and some basic tools, anyone can craft a stylish and functional piece of furniture that enhances outdoor living. Whether it’s for lounging in the sun or enjoying a quiet moment with a book, a custom bench adds both charm and utility to outdoor spaces.
Not only does building a bench allow for personal expression, but it also offers a rewarding project that can be completed in a weekend. By choosing the right design and materials, anyone can tailor their bench to fit their style and needs. Dive into the world of DIY and discover how to create an outdoor bench that’s perfect for enjoying the great outdoors.
Benefits Of A DIY Outdoor Bench
Building a DIY outdoor bench offers numerous advantages, especially in terms of cost and personalization. This project not only enhances outdoor spaces but also allows for creativity and individual style.
Cost Efficiency
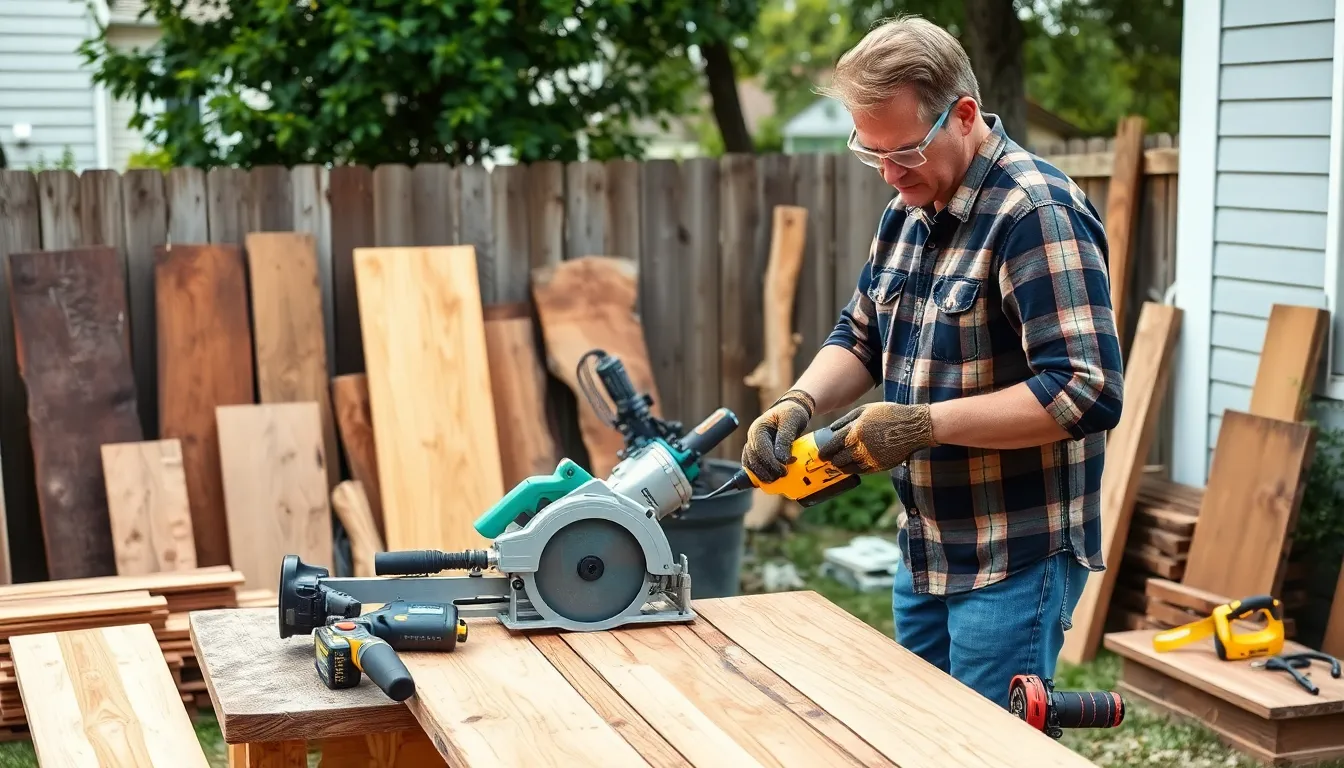
Creating a DIY outdoor bench reduces costs compared to purchasing pre-made furniture. Material costs for wooden boards, screws, and sealants generally range between $50 and $150, depending on the chosen materials and design complexity. Many DIY enthusiasts repurpose wood from pallets or other projects, further cutting costs. This budget-friendly approach provides a high-quality piece without the significant markups associated with retail furniture.
Personalization Options
DIY outdoor benches offer endless personalization options. Builders can select wood types, colors, and finishes to achieve the desired aesthetic. Custom designs can incorporate unique features such as built-in storage, cushions, or side tables, aligning with specific outdoor layouts and functions. This flexibility ensures the final product matches individual tastes and lifestyle needs, creating a cohesive outdoor experience that reflects personal style.
Essential Materials And Tools
Creating a DIY outdoor bench requires carefully selected materials and tools to ensure a successful project. Proper preparation enhances both the process and the final product.
Recommended Wood Types
- Cedar: Cedar is naturally resistant to decay and insect damage, making it ideal for outdoor use. Its attractive appearance and durability elevate any backyard setting.
- Redwood: Redwood provides excellent weather resistance and stability. Its rich color options allow for stunning finishes that enhance outdoor aesthetics.
- Pressure-Treated Pine: Cost-effective and widely available, pressure-treated pine lasts for years with proper care. It’s suitable for those seeking a budget-friendly wood option.
- Teak: Teak is highly regarded for its exceptional durability and water resistance. Though pricier, its longevity and elegant finish justify the investment for premium outdoor furniture.
Tools You’ll Need
- Circular Saw: A circular saw cuts wood efficiently and accurately, essential for preparing all bench components.
- Drill: A cordless drill is necessary for making pilot holes and driving screws, ensuring secure assembly.
- Screwdriver: A power or manual screwdriver assists in fastening screws tightly, offering stability to the bench.
- Measuring Tape: Accurate measurements prevent errors during cutting and assembly, ensuring the bench meets desired dimensions.
- Level: A level confirms that the bench sits evenly on the ground, enhancing comfort and appearance.
- Sandpaper or Sander: Smoothing rough edges with sandpaper or a power sander improves the finish and safety of the bench.
By gathering these essential materials and tools, a DIY outdoor bench project becomes both manageable and enjoyable.
Step-By-Step Guide To Building A DIY Outdoor Bench
Creating a DIY outdoor bench is a straightforward process that results in a unique and functional piece of furniture. This guide provides detailed steps to help in building a custom bench suited to specific outdoor needs.
Designing Your Bench
Designing the bench begins with considering its purpose and location. Measure the intended area to determine dimensions that fit comfortably. Select a style—simple, rustic, or contemporary—that complements the outdoor aesthetic. Choose wood types based on desired durability and appearance; for example, cedar offers natural resistance to decay, while teak provides a premium look and strength. Decide whether to incorporate additional features like storage, armrests, or back support to enhance functionality. Sketch the design, including measurements, to serve as a blueprint during construction.
Construction Process
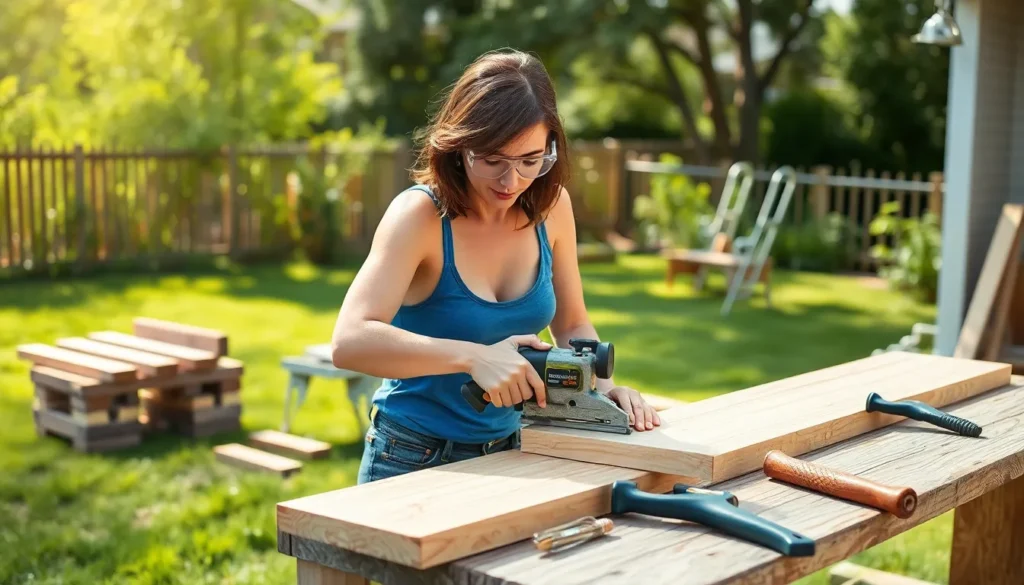
The construction process involves several key steps. First, gather all necessary materials, including selected wood, screws, and hardware.
- Cut the Wood: Use a circular saw to cut wood pieces according to the design specifications, ensuring accuracy.
- Assemble the Frame: Assemble the bench’s frame using screws and a drill; start with the legs and supports.
- Attach the Seat: Secure the seat boards to the frame. Position them evenly and drill screws at each intersection.
- Check Stability: Use a level to ensure the bench is stable and adjust if necessary. Reinforce joints for added stability.
Completing this construction stage results in a solid structure ready for finishing touches.
Finishing Touches
Finishing touches enhance appearance and durability.
- Sanding: Sand all surfaces using sandpaper or a sander to eliminate rough edges and splinters.
- Staining or Painting: Apply a weather-resistant stain or paint to protect the wood and customize the look. Choose colors that harmonize with the outdoor environment.
- Sealing: Use a clear outdoor sealant to provide additional protection against moisture and UV damage.
- Cushioning: Consider adding outdoor cushions for comfort, which can also introduce color and style to the bench.
Following these finishing steps ensures the bench withstands environmental elements while enhancing its visual appeal.
Tips For Maintaining Your DIY Outdoor Bench
Maintaining a DIY outdoor bench ensures its longevity and aesthetic appeal. Proper care practices significantly extend its life and enhance its appearance.
Weather Protection
Apply weatherproof seals or outdoor varnishes to protect against moisture and UV rays. Use durable treatments specifically designed for outdoor furniture to minimize damage from rain and sunlight. Regularly inspect for signs of wear, ensuring timely touch-ups where necessary. Store cushions indoors during harsh weather to prevent deterioration. Implementing these protective measures keeps the bench looking new.
Regular Cleaning
Clean the bench regularly to prevent dirt accumulation and mold growth. Utilize a mild soap solution and a soft brush or cloth for effective cleaning without damaging the finish. Rinse thoroughly with water to remove soap residues. Schedule deep cleanings every season, particularly before winter and after heavy rainfall, to maintain its appearance. This routine care preserves the wood and enhances its lifespan.
Conclusion
Creating a DIY outdoor bench is a fantastic way to elevate any backyard space. With the right materials and tools, anyone can craft a stylish and functional piece that reflects their personal taste. This rewarding project not only enhances outdoor living but also offers an opportunity for creativity and customization.
By following the outlined steps and maintenance tips, builders can ensure their benches remain beautiful and durable for years to come. Whether it’s a cozy spot for morning coffee or a gathering place for friends, a DIY bench serves as a lasting addition to any outdoor environment. Embracing this project opens the door to endless possibilities in outdoor design.