
Picture this: you’re ready to hit the road, but your car’s battery has other plans. Instead of calling for a tow or waiting for a friend who’s always “on their way,” why not tackle the job yourself? Changing a car battery at home isn’t just a practical skill; it’s a rite of passage that’ll make you feel like a DIY superhero.
Tools Needed
Gathering the right tools makes changing a car battery easier and more efficient. Having both essential and optional tools on hand ensures a smooth experience.
Essential Tools
A socket wrench set is necessary for removing battery terminals. A pair of gloves protects hands from acid exposure. Safety glasses shield the eyes from debris. A battery terminal cleaner keeps connections free from corrosion. A multimeter helps test battery voltage and diagnose issues.
Optional Tools
A battery jumper cable provides emergency assistance when necessary. A torque wrench enables precise terminal connections, promoting safety. A flashlight illuminates dark spaces and aids in visibility during the process. A battery blanket minimizes extreme temperature effects, ensuring optimal performance. A funnel helps prevent spills when adding fluid to specific battery types.
Safety Precautions
Safety is paramount when changing a car battery at home. Following specific precautions helps minimize risks associated with battery maintenance.
Personal Safety
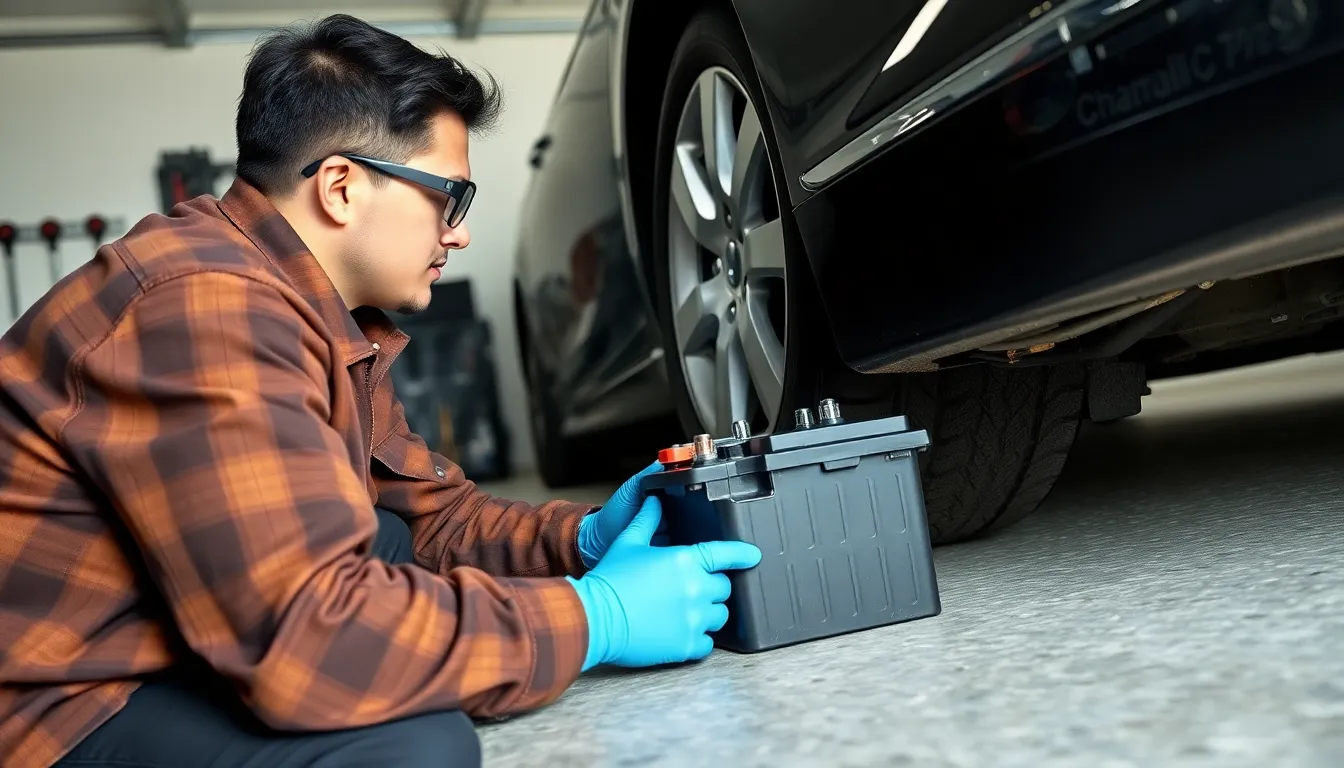
Always wear gloves and safety glasses during the battery replacement process. These protective items safeguard against acid spills and harmful fumes. While removing the battery, avoid touching the terminals with bare hands to prevent electric shock. If working indoors, ensure the area is well-ventilated to disperse any potentially harmful gases. Additionally, keep flammable materials away from the work area to reduce fire hazards. Taking these steps enhances personal safety significantly.
Vehicle Safety
Ensure the vehicle is parked on a flat, stable surface before starting the battery change. Engage the parking brake to prevent any movement during the process. Disconnect the negative terminal first to avoid sparks when removing the positive terminal. Inspect the battery for cracks or leaks before handling it, as damaged batteries can pose risks. Always secure the new battery properly in place according to the manufacturer’s specifications to prevent movement or damage. Taking these vehicle safety measures promotes a secure environment for the entire process.
Step-by-Step Guide
This guide provides clear instructions for changing a car battery at home, allowing automotive enthusiasts to manage this task effectively.
Preparing the Vehicle
Begin by ensuring a stable environment. Park the car on a flat surface, engaged the parking brake, and turn off the engine. Next, gather essential tools such as gloves, safety glasses, and a socket wrench set. Check the work area for flammable materials or hazards. Open the hood and locate the battery, examining it for signs of damage. Maintaining proper ventilation in the space where the vehicle is situated helps reduce the inhalation of harmful fumes.
Removing the Old Battery
After preparation, disconnect the negative terminal first, using the socket wrench to loosen the clamp. Removing the positive terminal follows, ensuring that the wrench doesn’t touch the car body. Take care when lifting the old battery; it can weigh up to 50 pounds. Dispose of the old battery responsibly at a recycling center or auto parts store. Cleaning the battery tray with a battery terminal cleaner removes corrosion and debris, providing a safe mounting surface for the new battery.
Installing the New Battery
Position the new battery into the designated tray, aligning it with the terminal connections. After confirming a secure fit, connect the positive terminal first, tightening it with the socket wrench. Follow this by connecting the negative terminal, ensuring both connections are firm to eliminate the risk of instability. Inspect the battery for proper placement and secure it according to manufacturer specifications. Testing the new battery’s voltage with a multimeter verifies successful installation and readiness for use.
Tips for Maintenance
Maintaining a car battery ensures optimal performance and longevity. Regular care and timely replacements prevent car troubles.
Battery Care
Regular cleaning maintains battery terminals and prevents corrosion. Use a battery terminal cleaner to remove buildup, which could affect connections. An inspection of battery fluid levels is crucial; keeping it topped off with distilled water enhances lifespan. Checking for physical damage, like cracks or leaks, signals potential issues requiring immediate attention. A battery blanket can provide extra protection during extreme weather conditions, which also extends battery life.
When to Replace Your Battery
Monitoring signs of battery wear helps determine replacement timing. If the car struggles to start or the headlights dim, these indicators often signal battery issues. Most batteries last between three to five years; keep track of the installation date for reference. Sudden drops in temperature can exacerbate problems, making regular checks especially important. Consider having a multimeter test the battery voltage; readings under 12.4 volts usually indicate it’s time for a replacement.
Changing a car battery at home is a valuable skill that empowers individuals to take control of their vehicle maintenance. With the right tools and safety precautions in place anyone can confidently tackle this task. By following the outlined steps and regularly maintaining the battery’s health drivers can ensure their vehicle runs smoothly and reliably.
Embracing this DIY approach not only saves money but also fosters a deeper understanding of one’s car. As drivers become familiar with their vehicle’s needs they can better anticipate issues before they arise. This proactive mindset will lead to a more enjoyable and hassle-free driving experience.


