Table of Contents
ToggleAn outdoor kitchen without overhead protection is at the mercy of weather, one rain shower and dinner moves inside. A covered outdoor kitchen changes that equation entirely, extending usability across seasons and protecting expensive appliances from the elements. Whether the goal is grilling in the rain, entertaining guests during summer heat, or adding resale value to a property, a well-designed cover makes an outdoor kitchen a true extension of the home’s living space. This guide walks through roof options, essential features, design styles, and budget-conscious DIY approaches to help homeowners create a functional, year-round outdoor cooking area.
Key Takeaways
- Covered outdoor kitchen ideas protect expensive appliances and cabinetry from weather damage while extending usability across all seasons.
- Louvered roofs and solid roof structures provide maximum protection, with louvered systems offering flexible sun and rain control at $50–$80 per square foot installed.
- Weather-resistant countertops like granite, porcelain tile, and poured concrete outperform laminate; pair with proper 24-inch prep space on each side of the grill.
- Building permits are required for permanent structures with gas or electrical lines, and footings must extend below the frost line to prevent post rotation and damage.
- Covered outdoor kitchens return 70–100% of investment at resale, ranking among the top three outdoor features buyers seek.
- DIY projects using pergola kits ($800–$2,500), concrete countertops ($200–$400), and freestanding grills can reduce costs by 50% while maintaining functionality and style.
Why Choose a Covered Outdoor Kitchen?
The primary advantage of a covered outdoor kitchen is weather protection. Rain, direct sunlight, and morning dew all degrade cabinetry, countertops, and appliances over time. A roof extends the lifespan of materials and reduces maintenance frequency, stainless steel doesn’t rust as quickly, wood cabinets don’t warp, and electronics stay dry.
A cover also expands the usable season. In regions with unpredictable weather, a solid or louvered roof allows cooking and dining outdoors even when clouds roll in. For hot climates, shade drops the ambient temperature by 10–15°F, making the space comfortable during midday use.
Safety improves as well. Overhead protection keeps rain off gas burners and electrical outlets, reducing the risk of flare-ups or electrical shorts. It also provides a defined zone that keeps smoke and cooking odors from drifting into the house.
From a resale perspective, covered outdoor kitchens rank among the top three outdoor features buyers look for, alongside pools and landscaping. According to multiple real estate surveys, outdoor kitchens with permanent structures can return 70–100% of their investment, depending on regional market conditions and material quality.
Popular Roof and Cover Options for Outdoor Kitchens
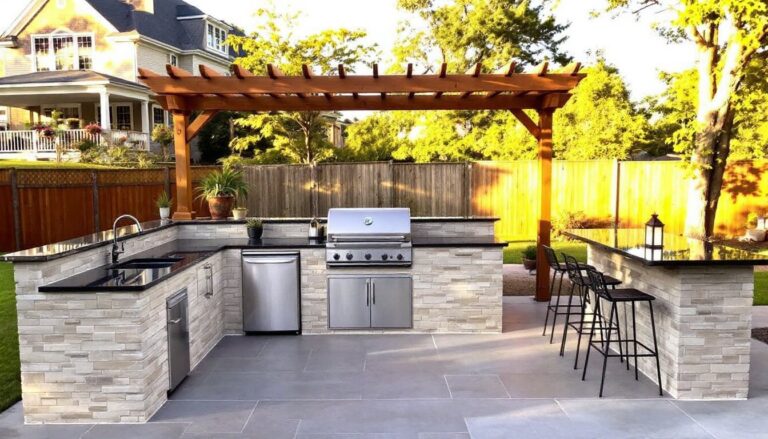
Pergolas and Louvered Roofs
Pergolas offer partial coverage with open slats, allowing filtered sunlight and air circulation. They’re ideal for temperate climates where full rain protection isn’t critical. Standard pergola posts are typically 6×6 or 8×8 pressure-treated or cedar lumber, spaced 8–12 feet apart. Rafters run perpendicular at 16–24 inches on center.
Most pergolas require footings below the frost line, check local codes, as deck-mounted pergolas may need additional lateral bracing. Adding a retractable fabric canopy increases weather protection without sacrificing the open feel.
Louvered roofs are the upgrade: motorized or manual aluminum slats that pivot to control sunlight and rain. When closed, they’re watertight: when open, they provide ventilation. Brands like StruXure and Azenco manufacture louvered systems rated for wind speeds up to 100 mph. Expect to pay $50–$80 per square foot installed, but the flexibility is unmatched for homeowners who want both sun and shade on demand.
Both pergolas and louvered roofs integrate well with covered outdoor living concepts, blending aesthetic appeal with functional flexibility.
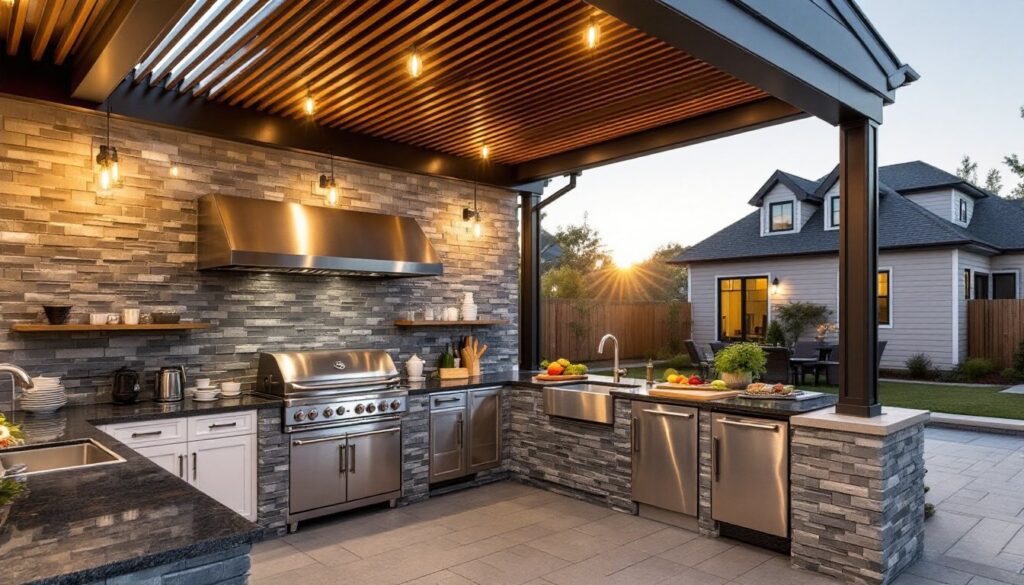
Solid Roof Structures and Pavilions
Solid roofs provide full protection and are the go-to choice for year-round use. Options include gable, hip, or shed roofs framed with 2×6 or 2×8 rafters. Roofing materials range from asphalt shingles (budget-friendly, 20–30 year lifespan) to standing seam metal (more expensive, 50+ years, better for low-slope roofs).
For a permanent structure, footings and framing must comply with the International Residential Code (IRC). In most jurisdictions, this means concrete piers at least 12 inches in diameter, extending below the frost line (varies by region: 12 inches in the South, 42+ inches in the Midwest). Attach ledger boards to the house framing with lag screws into studs or band joists, never just into siding.
Pavilions are freestanding versions of solid roofs, offering flexibility in placement. They’re framed similarly to a detached garage, with 4×4 or 6×6 posts and engineered beams if the span exceeds 12 feet. Many DIYers opt for prefab pavilion kits from companies like Yardistry or Outdoor GreatRoom, which include pre-cut lumber and hardware. Installation typically takes a weekend with two people.
If the kitchen includes gas or electrical lines, a building permit is almost always required. Consult local building departments before breaking ground, unpermitted work can complicate insurance claims and resale.
Essential Features to Include in Your Covered Kitchen
Start with the cooking zone. A built-in grill is the centerpiece, but consider adding a side burner for sauces and a griddle for breakfast or fajitas. Position the grill away from overhead beams, maintain at least 36 inches of clearance to prevent heat damage and fire hazards.
Countertop space matters more than most homeowners anticipate. Plan for at least 24 inches of prep surface on each side of the grill. Materials like granite, porcelain tile, or poured concrete hold up well outdoors. Avoid laminate, it delaminates in moisture. For a budget option, tile over a concrete backer board substrate: use exterior-grade thin-set and grout.
Storage should be weather-resistant. Marine-grade polymer cabinets (from brands like Trex or NewAge) won’t warp or rust. Stainless steel cabinets are durable but pricey, expect $200–$400 per linear foot. If building custom, use pressure-treated plywood or marine-grade plywood with exterior-grade paint. Designers creating outdoor living structures often incorporate both open shelving and closed cabinetry to balance accessibility and protection.
Utilities require planning. For gas lines, hire a licensed plumber, DIY gas work is illegal in most areas and voids appliance warranties. Electrical outlets should be GFCI-protected and weatherproof (NEMA 3R-rated covers minimum). Follow National Electrical Code (NEC) Article 210.52 for spacing, outdoor kitchens need at least one 20-amp circuit for small appliances.
Add a sink if the budget allows. A 15-inch bar sink is sufficient for rinsing vegetables and washing hands. Run PEX or copper supply lines underground in conduit, sloped for winterization. In cold climates, install a shutoff valve inside the house and blow out the line before the first freeze.
Lighting extends evening use. Recessed LED cans in the roof structure provide general illumination: add task lighting under cabinets or over the grill. Low-voltage landscape lights can highlight pathways and seating areas. Use dimmers to adjust ambiance.
Finally, consider ventilation. Even under a roof, smoke and grease need an exit path. If the cover is open-sided, natural airflow is usually enough. For fully enclosed pavilions, install a vent hood rated for outdoor use, most require 300–600 CFM depending on grill BTU output.
Design Styles to Match Your Home
Align the kitchen’s aesthetic with the home’s architecture. A modern farmhouse kitchen pairs shiplap posts, black metal accents, and butcher-block counters with a white-washed pergola. Use board-and-batten siding on cabinet fronts and Edison-bulb string lights for character.
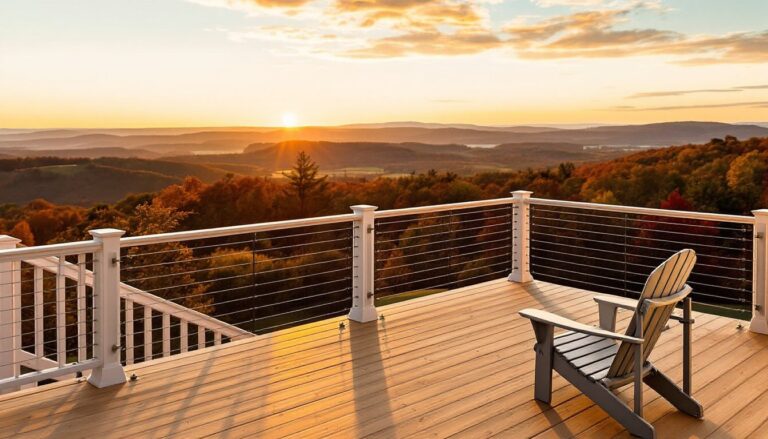
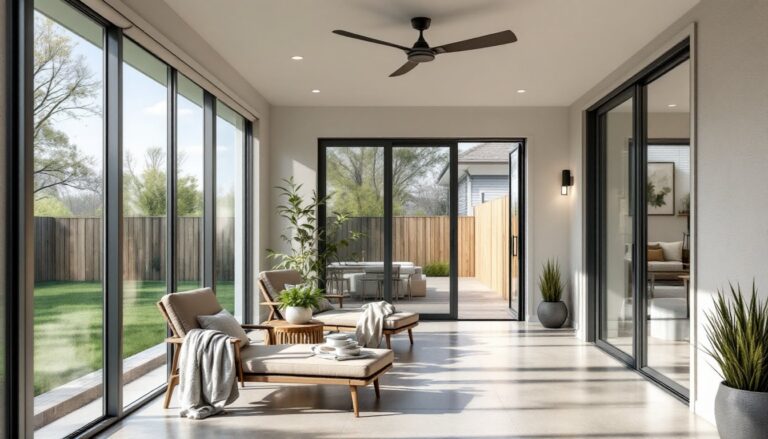
Contemporary designs favor clean lines and minimalism. Think flat-panel stainless cabinets, quartz countertops, and a louvered aluminum roof. Keep color palettes neutral, grays, blacks, and whites, with pops of color from outdoor-rated cushions or planters. According to design experts, contemporary outdoor kitchens often blur the line between indoor and outdoor spaces with glass railings and seamless flooring transitions.
Mediterranean or Spanish Revival styles embrace stucco columns, terracotta tile roofs, and arched openings. Use tumbled stone or saltillo tile for countertops and backsplashes. Wrought-iron pendant lights and colorful talavera tiles add authentic details.
Rustic or lodge-style kitchens lean into natural materials. Exposed timber beams, stone veneer on posts and walls, and rough-sawn cedar siding create a cabin feel. Pair with a stone or brick pizza oven and copper range hood. Use log or timber-frame posts if the budget allows, these require engineered drawings and typically cost $15,000–$30,000 installed.
For coastal or tropical themes, incorporate white-washed wood, nautical hardware, and light blues or greens. Thatched roofs (synthetic thatch lasts 20 years vs. 5 for natural) and bamboo accents enhance the vibe. Keep cabinetry elevated on legs to avoid standing water and improve airflow.
Homeowners interested in alfresco dining often extend their design style into adjacent seating areas, creating a cohesive outdoor entertaining zone.
Budget-Friendly DIY Covered Kitchen Projects
Start with a basic pergola kit. Big-box retailers sell cedar or vinyl pergola kits for $800–$2,500 that include pre-cut posts, beams, and hardware. Assembly takes one weekend with two people. Anchor posts to a concrete pad using Simpson StrongTie post bases (model ABU or CBU). If pouring footings, use Quikrete 5000 (4,000 PSI after 28 days) and set anchor bolts while the concrete is wet.
Build DIY countertops using concrete pavers or tile over a cinder block base. For a poured concrete countertop, frame a form using 2×4s and melamine, reinforce with rebar or wire mesh, and finish with a trowel. Seal with a penetrating sealer (like Foundation Armor SX5000) to prevent staining. Total material cost runs $200–$400 for an 8-foot counter.
Repurpose materials wherever possible. Old pallets can be disassembled and rebuilt into cabinet doors or a backslash accent wall, just sand, seal, and paint. Salvage yards often stock stone slabs or tile at a fraction of retail. Homeowners looking to build your own seating can extend this DIY mindset to the entire outdoor living area.
Skip the built-in grill initially. A quality freestanding grill on a paver pad under a pergola functions identically to a built-in unit and costs 50% less. Later, frame a surround using metal studs and fiber cement backer board, then veneer with stone or stucco.
DIY electrical work is legal in most states if the homeowner pulls the permit and passes inspection. Run UF-B cable (underground feeder) in PVC conduit from the main panel. Bury at least 18 inches deep (24 inches if not in conduit). Install a GFCI breaker in the panel or use GFCI outlets at the point of use. For tips on creating complete outdoor spaces, explore comprehensive design ideas that cover both structure and utility integration.
Avoid these common DIY mistakes: skipping footings (posts will shift and rot), using indoor-rated materials (they’ll fail within two years), and neglecting drainage (water pooling under the structure causes mold and wood rot). Always slope away from the house at 1/4 inch per foot and use gravel or permeable pavers to manage runoff.
For more ambitious projects, platforms like Hunker offer step-by-step tutorials on everything from framing techniques to appliance installation, helping DIYers tackle complex builds with confidence.