Table of Contents
ToggleBuilding an outdoor kitchen without a roof is like framing a house without sheathing, you’ll get by for a while, but weather will win eventually. A proper overhead structure protects appliances from rain, shields cooks from sun, and extends the usable season by months. It also defines the space visually, turning a collection of grills and counters into an actual room. Whether you’re aiming for full weather protection or just filtered shade, the right roof transforms an outdoor kitchen from a fair-weather novelty into a year-round asset.
Key Takeaways
- An outdoor kitchen roof protects expensive equipment from weather damage, UV rays, and rust while extending your usable cooking season year-round.
- Pergolas offer flexible coverage with 50% shade blocking and optional polycarbonate panels, making them a low-permit alternative for partial protection.
- Solid patio covers and gable or hip roofs provide full weather protection but require permits, engineering, and proper drainage with at least 1/4-inch per foot pitch.
- Retractable awnings deliver affordable, adjustable shade without permanent structure, ideal for renters or HOA-restricted properties, though they need to retract in winds above 20-25 mph.
- Proper ventilation through ridge vents, soffit vents, or gable louvers is critical to prevent heat buildup exceeding 120°F and to exhaust cooking smoke effectively.
- Material choices range from budget-friendly asphalt shingles to durable metal roofing (50+ year lifespan) or polycarbonate panels, with cost and maintenance requirements varying by climate and aesthetics.
Why Your Outdoor Kitchen Needs a Roof
Outdoor kitchens represent a significant investment, between built-in grills, refrigeration, stone countertops, and utilities, costs easily reach five figures. Leaving that equipment exposed accelerates deterioration. UV rays fade finishes and degrade rubber seals. Rain infiltrates control panels and corrodes igniters. Even stainless steel develops surface rust when constantly wet.
A roof also addresses the practical reality that most outdoor cooking happens during the hottest part of the day. Standing over a 600°F grill in direct sun isn’t just uncomfortable, it’s a safety issue. Heat exhaustion becomes a real risk during summer cookouts.
Beyond protection, overhead coverage creates architectural definition. It establishes boundaries, improves lighting opportunities (recessed fixtures or pendant lights mount to the structure), and increases property value by signaling a finished, intentional space rather than ad-hoc equipment placement. Many municipalities also require overhead coverage if you’re running gas lines or installing permanent electrical, check local codes before finalizing plans.
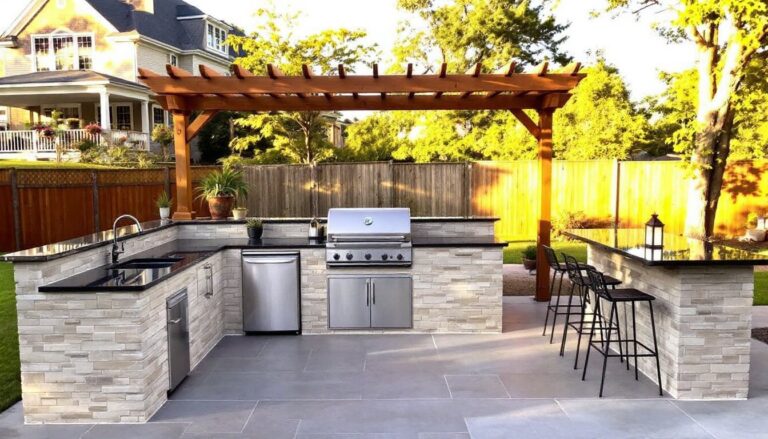
Pergola Roofs: Classic Style with Customizable Coverage
Pergolas offer the most flexible coverage option. The open-rafter design provides partial shade while maintaining airflow, critical for cooking areas where heat and smoke need to escape. Standard 2×6 or 2×8 rafters spaced 12 to 18 inches apart block roughly 50% of direct sun, which drops to about 30% once you account for sun angle changes throughout the day.
For more coverage, add a polycarbonate panel roof between the rafters. These corrugated or multiwall panels come in clear, bronze, or frosted finishes, providing rain protection while still transmitting light. They’re sold in 8-, 10-, and 12-foot lengths and install with specialized fasteners that allow thermal expansion. Alternatively, retractable fabric canopies slide along tracks mounted to the rafters, offering adjustable shade you can retract for stargazing or winter sun.
Pergolas work best when integrated with existing covered outdoor living spaces, extending the roofline or creating a transition between fully roofed and open areas. They’re typically considered non-structural additions and don’t require permits in most jurisdictions, though rules vary, always verify locally. Cedar and pressure-treated pine are traditional lumber choices, but aluminum pergola kits eliminate rot concerns and reduce maintenance to occasional washing.
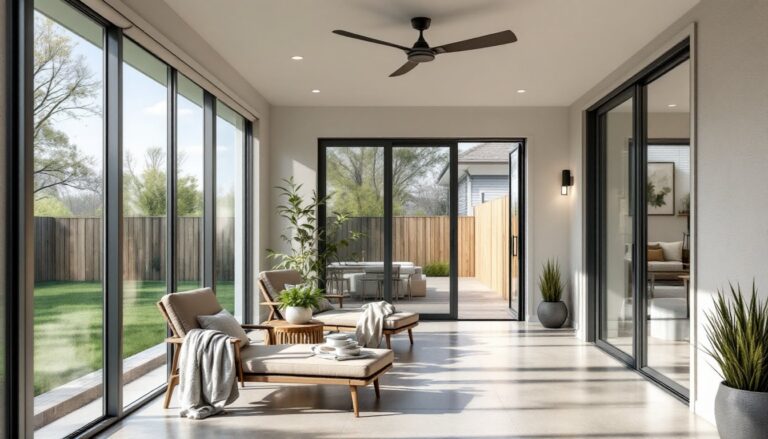
Solid Patio Covers for Year-Round Protection
When full weather protection matters, rain, snow, or intense sun, solid patio covers deliver. These are essentially roof extensions, using the same materials and pitch as your main house roof. Asphalt shingles are the most economical option, matching existing rooflines and lasting 20-30 years with proper flashing. Metal roofing (standing seam or corrugated panels) offers 50+ year lifespans and superior fire ratings, which matters in wildfire-prone regions.
Structurally, solid covers require proper engineering. You’re spanning potentially 12 to 16 feet from the house ledger board to freestanding posts, which means 2×8 or 2×10 rafters on 16- or 24-inch centers, depending on snow load and local codes. Posts should be 6×6 minimum, set in concrete footings below frost line. Many jurisdictions classify these as structural additions requiring permits, engineered drawings, and inspections.
Insulated patio covers, using structural insulated panels (SIPs) or a built-up assembly of rigid foam between roof decking and sheathing, make the space comfortable even in temperature extremes. They’re worth considering if you’re installing ceiling fans, heaters, or running HVAC to the space. Designers at Houzz frequently showcase these integrated designs with recessed lighting and finished ceilings that blur the line between indoor and outdoor kitchens.
One critical detail: slope and drainage. Even covered patios need at least a 1/4-inch per foot pitch to shed water. Install gutters and downspouts, pooling water near the foundation invites settling and moisture problems.
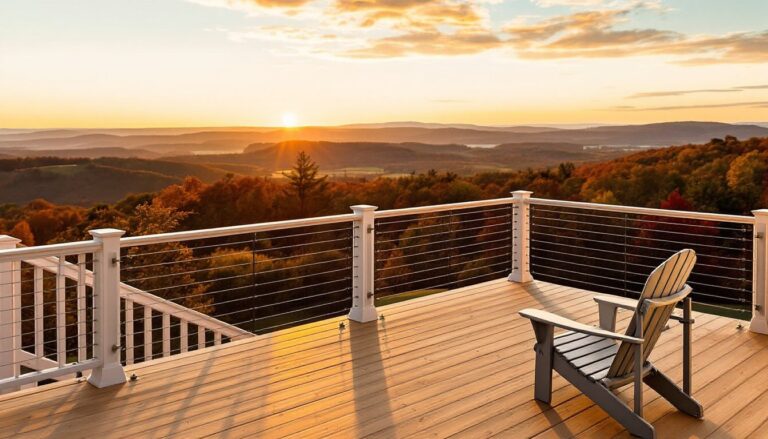
Retractable Awnings: Flexible Shade on Demand
Retractable awnings suit homeowners who want coverage options without permanent structure. Motorized models extend and retract via remote or smartphone app, often with wind and sun sensors that automatically adjust the canopy. Manual versions use a hand crank, less convenient but more affordable and with no electrical requirements.
Acrylic fabric is the standard material, offering UV resistance and available in dozens of colors and patterns. It blocks 90-95% of UV rays and sheds light rain, though it’s not waterproof. For serious rain protection, choose vinyl-laminated fabrics, which are fully waterproof but trap more heat. Expect fabric lifespans of 5-10 years depending on sun exposure and whether you retract it during storms.
Awnings mount to the house fascia or wall with a ledger bracket, extending 8 to 14 feet outward. The front edge drops slightly (about 15-20 degrees) to shed rain away from the seating area. Key consideration: wind limits. Most awnings should retract in winds above 20-25 mph, extended canopies act like sails and can rip mounts from the wall. That makes them less practical in consistently windy locations.
Installation is DIY-friendly for handy homeowners but requires locating studs or blocking for secure mounting. Budget-grade units start around $500-800 for an 8×10 manual awning: motorized models with integrated lighting and heaters run $2,000-5,000. They’re ideal for enhancing outdoor living structures where permanent construction isn’t allowed due to HOA rules or rental situations.
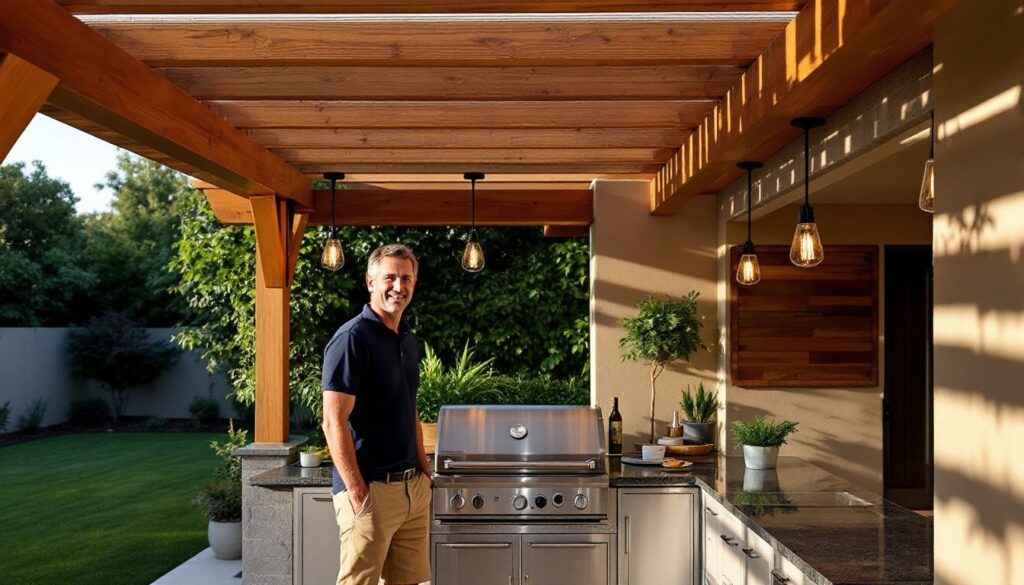
Gable and Hip Roofs for Permanent Structures
Freestanding outdoor kitchens, those not attached to the house, often work best with gable or hip roofs. These traditional roof forms handle weather well, provide ample headroom, and allow for venting ridge caps that exhaust heat and smoke.
A gable roof features two sloped planes meeting at a central ridge, typically pitched at 4:12 to 6:12 (4-6 inches of rise per 12 inches of horizontal run). This design sheds water efficiently and creates a sense of height. Hip roofs slope on all four sides, offering better wind resistance, valuable in coastal or storm-prone areas. Both require engineered trusses or conventional rafter framing with collar ties to resist outward thrust.
Framing these structures demands carpentry skills and permit compliance. You’re essentially building a small pavilion, which means foundation work (concrete piers or slab), column or post installation, roof framing, sheathing, and weatherproofing. Electrical and plumbing rough-ins happen before sheathing goes on. Plan for 8-10 foot minimum interior height to accommodate tall cooks and prevent smoke issues.
Material choices matter. Pressure-treated lumber for framing is code-minimum in most areas: Western red cedar or Alaskan yellow cedar offer natural rot resistance with better aesthetics. Engineered options like Barrette Outdoor Living composite posts eliminate wood maintenance entirely. For the roof itself, architectural shingles, metal panels, or clay/concrete tiles all work, choose based on aesthetics, budget, and what complements your main house.
Cost and complexity push many homeowners toward hiring professionals. Expert contractors, like those featured on Bob Vila, emphasize that these projects often require multiple trades, framing carpenters, roofers, electricians, and possibly plumbers or gas fitters if you’re running utilities.
Choosing the Right Materials for Your Outdoor Kitchen Roof
Material selection determines durability, maintenance, and how the structure weathers over decades. For framework, pressure-treated Southern yellow pine is economical and widely available, rated for ground contact when posts are embedded in concrete. It requires annual sealing or staining to prevent weathering. Cedar and redwood naturally resist rot and insects, aging to a silver-gray patina unless sealed. Composite and PVC lumber products offer the ultimate low-maintenance solution but cost 2-3 times more than wood.
Roof cladding depends on your goals. Asphalt shingles ($90-120 per square installed) match most homes and DIYers can handle installation with basic tools. Metal roofing ($300-600 per square for standing seam) lasts 50+ years, reflects heat, and handles fire exposure better than any alternative, critical for structures with open flames. In Sunbelt regions, consider reflective coatings or light-colored finishes to reduce radiant heat.
Polycarbonate panels strike a middle ground, costing $2-4 per square foot. They’re DIY-friendly, lightweight, and available in tints that block UV while allowing light. But, they expand and contract significantly with temperature, use proper fasteners with rubber washers, never overtighten. Budget for replacement every 10-15 years as they yellow and become brittle.
For a more upscale aesthetic, consider bamboo or thatch roofing. These create tropical or coastal vibes and provide excellent shade, though fire codes may restrict use in some areas. They require replacement every 5-7 years and attract birds and insects if not maintained.
Ventilation cannot be overlooked. Any solid roof over a cooking area needs ridge vents, soffit vents, or gable-end louvers to exhaust heat and smoke. Without airflow, temperatures under the roof can exceed 120°F on summer afternoons, and smoke has nowhere to go. When planning an outdoor living room that includes cooking elements, design experts at Southern Living consistently stress the importance of cross-ventilation in overhead structures.
Conclusion
An outdoor kitchen roof isn’t optional, it’s the difference between a space that’s used constantly and one that sits idle for half the year. Match your coverage type to how you cook, your climate, and whether you’re building attached or freestanding. Get permits where required, don’t skip structural engineering for solid roofs, and invest in proper ventilation from day one. Done right, that overhead structure will outlast the appliances underneath it.